Make Your LinkedIn Photo Read at Thumbnail Size, Exact Copenhagen Specs

Your LinkedIn profile photo should be a square image at 400 x 400 pixels, saved as a JPG or PNG under 8 MB, with your face filling about 60 to 70% of the frame. Export a bit larger if you can, save it as sRGB, and check how it looks in LinkedIn’s circular preview before you commit.
TL;DR:
- Using a square photo between 800 and 1200 pixels ensures clarity when LinkedIn scales your image across devices.
- Center your face with eyes slightly above the midpoint and leave space for shoulders to prevent important details from being cut off by the circular crop.
- Save your headshot as a JPG in sRGB color profile, and resize to stay under 8 MB, avoiding heavy sharpening or unnecessary metadata.
- A professional headshot session is recommended for those needing natural lighting, proper posing, and skin retouching, especially for high-visibility roles.
- Natural expressions and good lighting outperform heavily styled or overly retouched images, as authenticity registers most effectively at thumbnail size.
Table of Contents
- LinkedIn profile photo specs: pixels, aspect ratio, and recommended resolution
- How to crop and frame your headshot for LinkedIn’s circular preview
- File formats, compression, and upload rules for a clean LinkedIn photo
- Other LinkedIn image sizes you should know about
- Practical shoot and edit tips so your headshot reads well at thumbnail size
- When a professional headshot session is worth booking
- What’s actually working in LinkedIn headshots right now
- Book a guided headshot session for a LinkedIn photo that actually looks like you
- Where these specs and tools come from
- Sources
- FAQ
LinkedIn profile photo specs: pixels, aspect ratio, and recommended resolution
LinkedIn works in a strict 1:1 aspect ratio for profile photos, meaning the image must be perfectly square. The platform’s own guidance points to 400 x 400 pixels as the baseline, but that number is a floor, not a ceiling. Uploading a larger square, somewhere between 800 and 1200 pixels per side, gives LinkedIn more detail to work with when it compresses and displays your photo across devices.

That extra resolution matters because LinkedIn scales your image down for thumbnails and back up slightly for the full profile view. A photo that starts small has nowhere to go but blurry once it’s stretched. One that starts large gets downsized cleanly, which keeps edges sharp on both desktop and mobile.
A few things to keep straight before you export:
- The image must be square: cropping a rectangular photo down to 1:1 is required before upload.
- Recommended size is 400 x 400 px minimum, with 800 to 1200 px square preferred for sharper results.
- Accepted formats are JPG and PNG, and file size commonly tops out around 8 MB.
- Guides differ slightly on maximum pixel counts, so staying in the 800 to 1200 px range avoids any platform-specific ceiling.
How to crop and frame your headshot for LinkedIn’s circular preview
LinkedIn displays your photo inside a circle, which means the four corners of your square upload get quietly trimmed. If your composition puts anything important near the edges, like the top of your head or your shoulders, expect it to disappear from view.
The safest approach follows a simple sequence:
- Start with a square crop where your face fills roughly 60 to 70% of the frame, a ratio Forbes highlights for making faces easier to recognize in recruiter scans.
- Leave a sliver of shoulder visible on both sides so the crop doesn’t feel like a mugshot.
- Avoid slicing right at the chin or forehead. Give a little breathing room so the circular mask doesn’t cut into your hairline or jaw.
- Center your eyes slightly above the vertical midpoint, since that’s usually where the circle crop looks most natural.
- Use built-in tools like Photos on Mac, Preview, or your phone’s native photo editor to crop to a perfect square before uploading.
Once you’ve cropped, rename the file something like yourname.jpg instead of a generic camera filename. Forbes notes this small step can help with discoverability, and it’s a two-second fix.
Pro Tip: Before uploading, zoom your screen to shrink the image to thumbnail size and check if your face is still clearly recognizable. If it’s not, your crop is too loose.
File formats, compression, and upload rules for a clean LinkedIn photo
JPG is the better default for a headshot. It compresses photographic detail efficiently without inflating file size, while PNG tends to be reserved for graphics or images that need transparency, something a headshot never requires. Whichever format you choose, save it in the sRGB color profile. It’s the standard most web platforms, including LinkedIn, expect, and it keeps colors consistent from your screen to the reader’s.
Anything higher inflates file size with no visible gain, and anything lower starts introducing compression blotches around your face, the worst place for artifacts to show up. Skip heavy sharpening filters too. They tend to exaggerate skin texture and edges in a way that reads as unnatural at small sizes.
On file size, LinkedIn commonly lists a maximum of 8 MB for profile photos, though some design tools cite lower limits for other asset types, so it pays to check the specific upload field you’re using. If your export comes in too large:
- Resize the image dimensions down slightly, rather than just lowering quality.
- Re-export at 80% quality instead of 100%.
- Strip unnecessary metadata, which can add unneeded bulk to the file.
Tools like Adobe Express offer preset LinkedIn dimensions and handle the resize and export in a few clicks if you’d rather skip manual settings entirely.
Other LinkedIn image sizes you should know about
Your profile photo isn’t the only image size worth getting right. A mismatched banner or a stretched company logo undercuts an otherwise polished profile just as easily as a bad headshot.
- Personal profile banner: 1584 x 396 pixels, a wide rectangle that sits behind your photo and headline.
- Company page cover image: around 1128 x 191 pixels, sized for the horizontal banner space on a business page.
- Company logo: 400 x 400 pixels, the same square dimensions as a personal profile photo.
- Post images: square (1200 x 1200 px) or landscape (1200 x 627 px) tend to display most consistently in the feed.
If you’re updating your personal branding across your profile, a matching banner and headshot pulled from the same photo session tend to look far more deliberate than pairing a professional photo with a generic stock banner.
Practical shoot and edit tips so your headshot reads well at thumbnail size
Most people only ever see your LinkedIn photo as a small circle next to your name, so the details that matter are the ones that survive shrinking. Bright, even light and a plain background do more for a headshot than any editing app can fix afterward.
- Shoot facing a window or soft light source rather than under a single overhead bulb, which casts harsh shadows under the eyes.
- Pick a plain wall or softly blurred background so nothing behind you competes for attention.
- Straighten the horizon and crop to square before any other editing step.
- Nudge exposure and contrast slightly, then apply light noise reduction if the photo was shot in low light.
- Balance color temperature so skin tones look natural, not orange or blue-tinted.
If you’re working from a phone, take the photo in portrait mode from a slight distance rather than up close, which avoids distortion around the nose and forehead. Free tools like Adobe Express or Canva can crop, resize, and export a properly sized file in a couple of minutes if you don’t have editing software installed.
Pro Tip: Take ten photos in a row and pick the one where your eyes look most relaxed, not the one where your smile looks biggest. Relaxed eyes read as more trustworthy at thumbnail size.
When a professional headshot session is worth booking
A guided session solves problems that DIY photos rarely fix: uneven lighting, awkward angles, and stiff, self-conscious posing. A professional headshot session typically includes direction on posing, controlled lighting setups, and retouching that keeps skin looking natural rather than airbrushed, plus delivery within a timely period.
Hiring a photographer tends to pay off most for executive profiles, jobseekers in visible or client-facing roles, and anyone building a personal brand where the photo represents more than one platform. When booking, ask about turnaround time, how many final edited images you’ll receive, and whether the retouching is included or billed separately, so there are no surprises after the shoot. Our guide to headshot preparation covers what a typical session involves in more detail.

What’s actually working in LinkedIn headshots right now
The best-performing LinkedIn photos right now lean toward looking like an actual person, not a stock-photo version of one. Natural expressions and light, believable retouching consistently outperform stiff corporate poses or heavily smoothed skin, because viewers register authenticity faster than polish.
Clarity beats style every time: a sharp, well-lit photo of a relaxed, genuine expression will outperform a moodier, over-processed portrait nearly always. If you take one thing from this: prioritize a natural expression over a perfect pose, and let the lighting and crop do the rest of the work.
— Savvy
Book a guided headshot session for a LinkedIn photo that actually looks like you
A headshot session with Shutter Optique takes the guesswork out of every step covered above. Sessions include guided posing for people with no modeling experience, natural retouching that keeps skin looking like skin, and gallery delivery within one to two weeks so you’re not waiting around to update your profile.
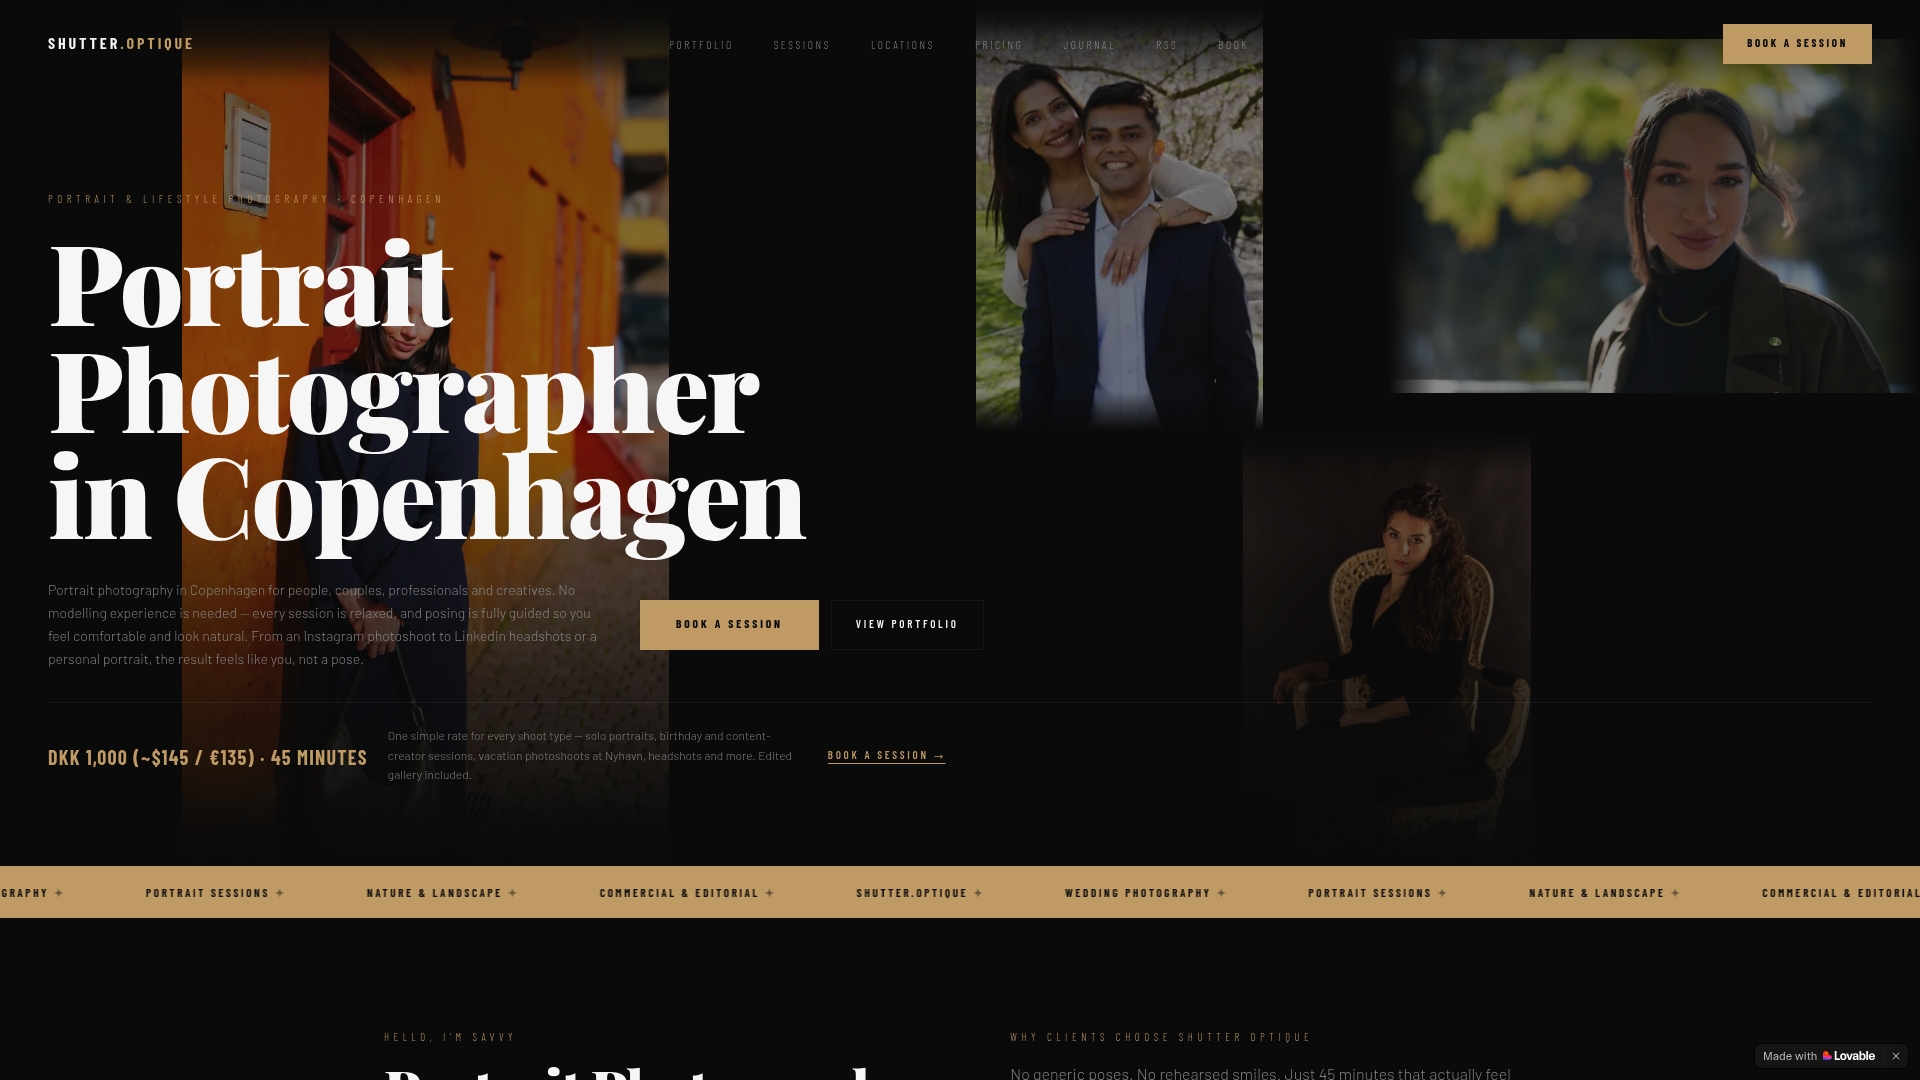
Because the framing and lighting are handled by someone who knows how LinkedIn’s circular crop behaves, the final image tends to read cleanly at thumbnail size without any extra editing on your end.
- Guided posing and direction, no prior experience needed.
- Editorial-style portraits shot around Copenhagen’s cityscapes.
- Natural retouching and a fast turnaround on previews.
Book a professional headshot session or explore personal branding photography if you need a matching banner image too.
Where these specs and tools come from
The pixel and file-size figures above come from Figma’s LinkedIn size guide, which lists current platform recommendations. Cropping guidance draws on Forbes’ reporting on headshot upgrades, and resizing steps reference Adobe Express’s free LinkedIn image tool for anyone who wants a quick, no-software fix.
Sources
FAQ
Which image size is best for LinkedIn?
The best size for a LinkedIn profile photo is a square image at 400 x 400 pixels or larger, since bigger squares scale down more cleanly. Keep the same 1:1 ratio for your photo and match the platform’s separate banner and logo dimensions for other images.
How do I get my picture to fit on LinkedIn?
Crop your photo to a perfect square before uploading, since LinkedIn will not accept a rectangular image for your profile photo. Leave some space around your face and shoulders so the circular preview doesn’t cut off anything important.
What is the recommended image size for LinkedIn in 2026?
The recommended profile photo size remains 400 x 400 pixels, with JPG or PNG accepted and file size commonly capped around 8 MB. Exporting a larger square, around 800 to 1200 pixels, still gives the sharpest result once LinkedIn resizes it for display.
Can you post 1920x1080 on LinkedIn?
A landscape image with a wider resolution is not a valid profile photo since LinkedIn requires square images, but a wide rectangle cropped to the recommended 1584 x 396 pixel ratio works well for a personal banner. For feed posts, a landscape image closer to 1200 x 627 pixels tends to display more consistently.