3 Graduation Photo Ideas Non Models Need: Task Poses That Work
For memorable graduation photos, capture three shots: a classic cap-and-gown portrait, one personal-prop portrait tied to who you are, and one movement or celebration frame like a cap toss. Nail the classic shots first, then move into the creative and physical ones while everyone still has energy. A quick moodboard and a 30-minute location scout beforehand make the whole session run faster and look better.
TL;DR:
- Classic graduation shots, including full-body diploma portraits and cap tosses, should be captured first to avoid timing issues during busy ceremonies.
- Creative poses with confetti, balloons, or storytelling props enhance personal expression, but venue restrictions may limit options.
- Task-based directions like walking or adjusting props produce more natural photos than generic poses, especially for those inexperienced in modeling.
- Shooting during golden hour or in open shade with reflectors improves lighting quality without the need for additional equipment.
- Proper planning, including a moodboard and location scout, is essential to ensure a smooth session and high-quality results within tight schedules.
Table of Contents
- Must-Have Classic Graduation Shots to Capture First
- Creative Concepts for Standout Grad Photos
- Posing Directions That Look Effortless, Not Staged
- Props and Outfits That Photograph Well
- Location and Lighting: Getting the Light Right Without a Lighting Kit
- Planning Workflow: From Moodboard to Shot List
- Savvy’s Note: Why Guided Sessions Capture Authentic Moments
- Adding Meaningful Quotes and Signs to Your Photos
- Camera Settings: What Amateurs and Pros Should Actually Use
- Editing Touches That Make Graduation Photos Pop
- Savvy’s Quick Perspective on What Actually Works
- Book a Guided Graduation Session With Shutter Optique
- Sources
- FAQ
Must-Have Classic Graduation Shots to Capture First
Get these in the bag before anything else. Ceremony schedules run tight, families get restless, and the light changes fast, so the reliable shots come first and the experimental ones come after.
A strong graduation session pairs classic cap-and-gown portraits with movement and meaningful prompts that pull real expressions instead of stiff smiles. Start with the basics, then layer in personality.
- Full-body diploma portrait, shot twice: once with the gown closed and buttoned, once open over your outfit for a more relaxed look.
- Cap toss, planned for multiple attempts against a plain sky or wall so nothing distracts from the motion.
- Seated portraits on steps, a bench, or campus stairs. Sitting relaxes the shoulders and gives you a natural place to rest your hands.
- Detail shots of the tassel, diploma cover, honor cords, or stoles. These fill gaps in the gallery and matter more later than you’d expect.
- Family and friend groups, shot fast: line people by height, angle bodies slightly toward the center, and take three frames per grouping so someone isn’t blinking in all of them.
Creative Concepts for Standout Grad Photos
Once the safe shots are done, this is where the gallery gets interesting. Pick one or two concepts that fit your personality rather than trying to cram in everything you’ve seen on Pinterest.
- Confetti or balloons: check venue rules first. Many campuses ban confetti for cleanup reasons, so bubbles or loose flower petals work as a mess-free stand-in.
- Editorial haze: a light powder burst or haze effect can look cinematic, but test it away from people’s faces and never near flames or enclosed spaces.
- Golden hour and silhouettes: shoot toward the sun for a rim-lit silhouette, or frame yourself through tree branches or flowers for a softer, nature-driven look.
- Storytelling props: recreate a “day one” photo from freshman orientation, or pose with the instrument, lab coat, or sports gear tied to your major.
- Multi-look sessions: start in the gown, then change into something casual or formal for a second set of frames in the same location.
Minted’s graduation photo guide makes a similar case: mixing formal cap-and-gown poses with candid, story-driven frames is what makes a gallery feel personal instead of interchangeable with everyone else’s.
Pro Tip: Bring one prop that has nothing to do with academics, like a childhood stuffed animal or a family recipe card. It photographs as a genuine artifact, not a staged accessory.
Posing Directions That Look Effortless, Not Staged
The fastest way to kill an awkward pose is to give the person a task instead of an instruction. Task-based direction, like asking someone to interact with a prop or the environment, produces natural-looking results from people who have never modeled before.
- Give hands a job: hold the diploma at chest height, adjust the cap brim, or tuck a loose strand of hair.
- Ask for small actions instead of poses: walk toward the camera, walk away and look back over one shoulder, or hug a parent mid-laugh.
- For dramatic movement, direct a twirl or a small jump. Shoot on burst so you catch the peak of the motion, not the windup.
- For the cap toss, find a clean background, toss the cap straight up, and shoot continuous burst. Plan for at least three tries. The first is almost always a rehearsal.
Props and Outfits That Photograph Well
Props work best when they say something true about you. A trumpet, a stethoscope, a soccer ball, or your dog all read as personal rather than decorative, and galleries built around real objects tend to age better than generic props borrowed for the shoot.
- Wear fitted, simple silhouettes under the gown. Loose fabric bunches up and reads as sloppy in photos.
- Stick to neutral or complementary colors and skip busy patterns or large logos, which pull focus from your face.
- Steam the gown the night before and pin the tassel so it hangs correctly on both sides.
- Pack a small touch-up kit: blotting sheets, bobby pins, and a lint roller solve most last-minute problems.
- If you’re carrying a bouquet or wearing simple jewelry, get one clean shot of your shoes too. It’s a small detail people always ask about later.
Location and Lighting: Getting the Light Right Without a Lighting Kit
Timing matters more than gear. Golden hour gives flexible, forgiving light, while midday sessions still work fine in open shade with a reflector bouncing light back into the face. If you’re shooting closer to sunset for a more editorial look, a small off-camera flash fills in shadows without flattening the scene.
A quick 30-minute scout before you shoot answers a lot of questions: where to park, which doors stay locked, which backgrounds are cluttered, and when the crowds thin out. Ceremony lighting mixes several sources at once, so arrive early to test white balance rather than trusting your camera’s auto setting once the stage lights and daylight start fighting each other.
- Golden hour: roughly the hour after sunrise or before sunset, when light is soft and warm.
- Midday: shoot in open shade (under a tree, an awning, a building overhang) and bounce light with a reflector.
- Indoors: raise ISO before you raise shutter speed, and use fill flash if the stage lighting throws harsh shadows.
Planning Workflow: From Moodboard to Shot List
A messy session usually comes from a missing plan, not bad luck. Building a simple workflow before the shoot day keeps the whole thing efficient even when the schedule is tight.
- Collect 10 to 15 reference images and look for the pattern. Are you drawn to bright and colorful shots, or moody and cinematic ones?
- Scout the location at the actual time you’ll be shooting, so you see the real light and crowd conditions.
- Shoot the safe classic portraits first, then move into movement shots, then family and group photos, then close-up details.
- Budget 45 to 60 minutes for one location with a single outfit, longer if you’re changing looks.
- Pack a contingency kit: a charged phone or backup battery, safety pins, and a lint roller.
Savvy’s Note: Why Guided Sessions Capture Authentic Moments
Task-based prompts beat “just smile” every time. Asking someone to walk, laugh with a parent, or adjust their cap produces expressions that hold up years later, not stiff smiles that look forced in every frame. At Shutter Optique, sessions run on relaxed pacing with fast preview turnaround, so you know within days whether the shots are landing, not weeks.
Adding Meaningful Quotes and Signs to Your Photos
A handwritten sign changes a portrait from generic to personal almost instantly. Write out a favorite line from a professor, a family motto, or the first line of your thesis on a plain card and hold it at chest height, angled slightly so it doesn’t flatten against the light.
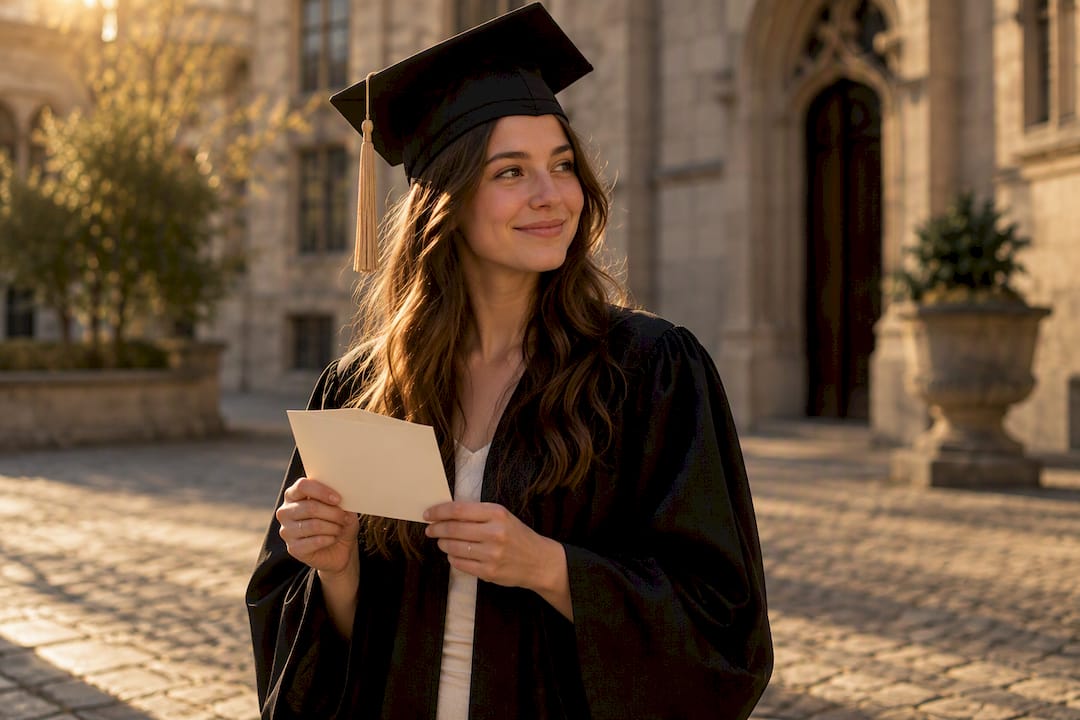
Chalkboards work well for this too, especially for noting your major, graduation year, or a short “what’s next” line if you’re headed to a job or a new city. Keep the lettering large and simple. Anything under an inch tall tends to disappear once the photo is resized for social media.
If you’d rather skip props entirely, ask someone to write the quote on your palm or forearm in temporary marker for a close-up detail shot. It reads as more spontaneous than a sign and fits naturally into a shot sequence built around hands and small gestures.
One caution: avoid pairing a serious or sentimental quote with a silly pose, and vice versa. The mismatch reads as confused rather than playful once you’re looking at the final gallery. Match the tone of the words to the tone of the frame, and it will feel intentional instead of accidental.
Camera Settings: What Amateurs and Pros Should Actually Use
You don’t need professional gear to get usable graduation photos, but a few setting choices make a real difference. For phone cameras, shoot in the native camera app rather than a filtered one, tap to set focus on the face, and use burst mode for any movement shot, including the cap toss.
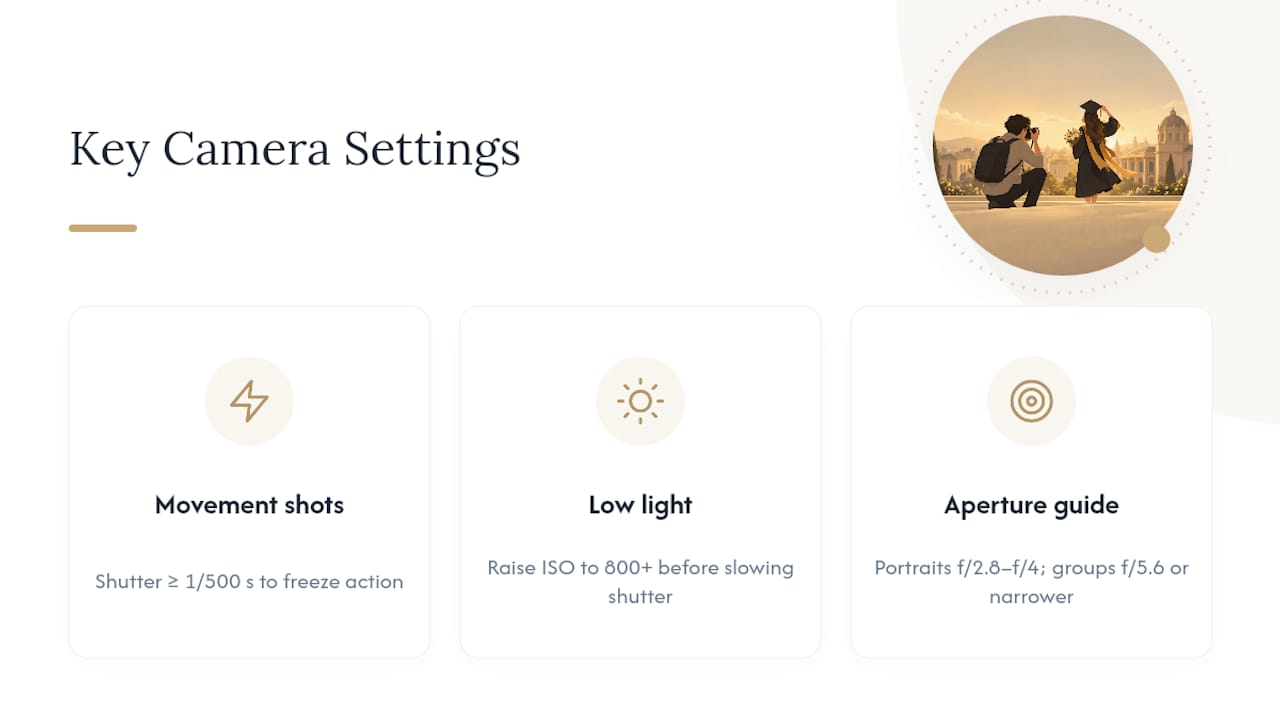
For anyone shooting with a DSLR or mirrorless camera, aperture priority mode (often labeled A or Av) gives control over background blur while letting the camera handle shutter speed. An aperture around f/2.8 to f/4 blurs the background nicely for portraits without losing sharp focus on the face. Bump that to f/5.6 or narrower for group shots, so everyone stays in focus.
Shutter speed matters most for the movement shots. Anything at 1/500 of a second or faster freezes a cap toss or a jump cleanly; anything slower risks motion blur on the fast parts of the frame. Indoors or in low evening light, raise ISO to 800 or higher before slowing the shutter speed down, since a blurry photo is harder to fix than a slightly grainy one.
Pros shooting a full session typically switch between manual and aperture priority depending on the shot: manual for consistent studio-style portraits where light doesn’t change, aperture priority for fast outdoor sequences where the light shifts every few minutes.
Editing Touches That Make Graduation Photos Pop
Editing should support the moment, not replace it. Start with basic corrections: even out exposure, fix white balance if the ceremony lighting threw an odd color cast, and straighten the horizon if a landscape shot is tilted.
Skin retouching for graduation photos works best light. Smooth minor blemishes and reduce shine, but keep texture intact. Over-smoothed skin reads as fake almost immediately, especially in close-up cap-and-gown shots where the face carries the whole frame.
For color treatment, a warm, slightly desaturated tone tends to suit golden hour and outdoor shots, while a cleaner, higher-contrast edit usually works better for indoor ceremony photos with mixed lighting. Cinematic-looking edits require coordinated choices across lens choice, lighting, and color grading, not just a single filter dropped over the top.
Crop tight on detail shots (the tassel, the diploma seal, the cords) and leave more breathing room around full-body and movement shots so the motion has somewhere to land. Batch-edit the whole gallery for consistent tone first, then go back and hand-finish the five or six images you know you’ll actually print or post.
Savvy’s Quick Perspective on What Actually Works
Most sessions fall apart from a missing plan, not bad light. A short pre-shoot routine works every time: build a small moodboard, scout the location for 20 to 30 minutes, then shoot the safe classic frames before anything experimental. Everything after that is just detail. Skip the routine, and even good light won’t save a rushed session.
— Savvy
Book a Guided Graduation Session With Shutter Optique
Shutter Optique gives graduates the alternative to a rushed, DIY photo session in Copenhagen: full posing direction from someone who has already scouted the light and the location, so you never have to figure out what to do with your hands or where to stand. A graduation session runs 1,000 DKK and includes guided posing for every shot, location selection across the city’s best backdrops, professional retouching, and a fast turnaround on previews so you’re not waiting weeks to see the gallery.
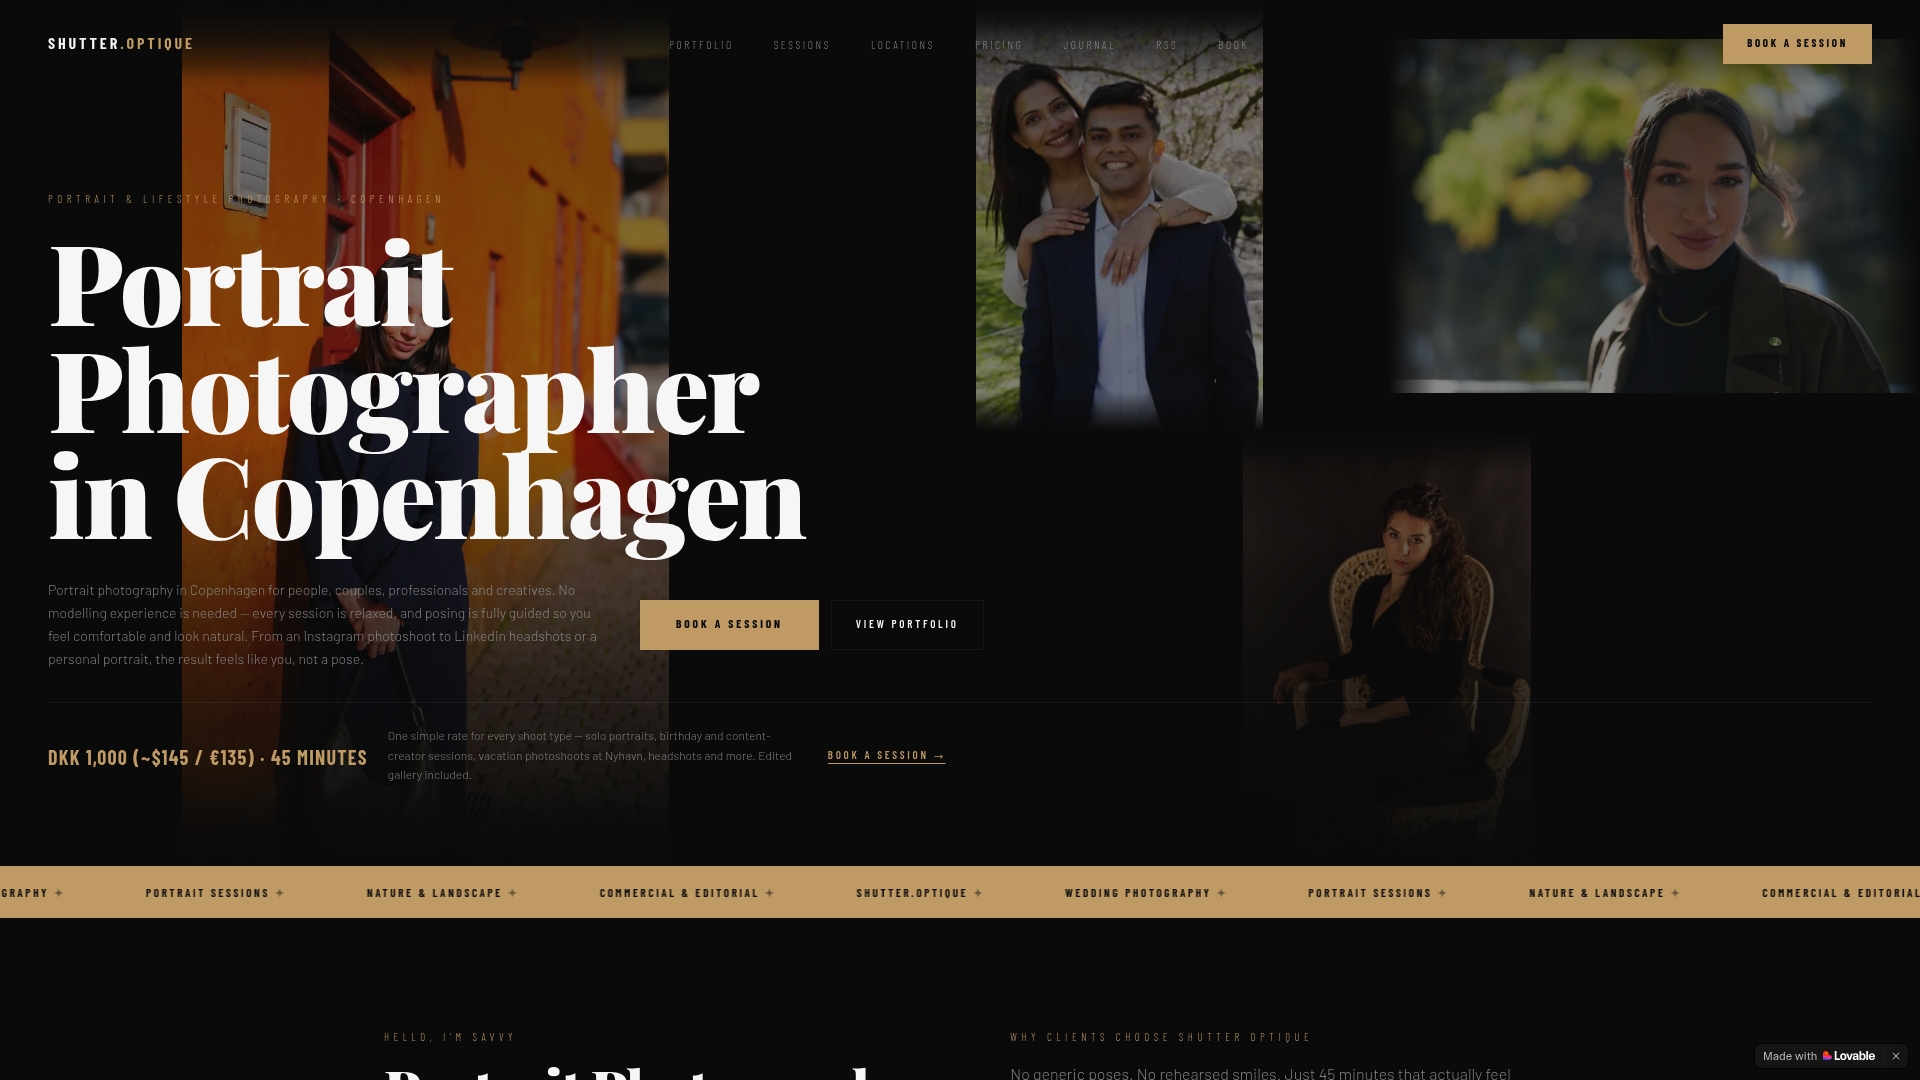
Guided direction matters most for people who’ve never modeled before. Savvy walks you through each pose, task by task, so the session feels more like a relaxed afternoon than a photo shoot. If you’d rather build the day around a personal branding look for LinkedIn or a portfolio, that option is available too. To book, visit the graduation photography page and pick a date and location that works for your schedule.
Sources
- Graduation Photography Tips and Ideas for Memorable Photos — SLR Lounge
- 20 tips for great graduation day photos — Nikon USA
- 30+ Graduation Picture Ideas and Poses — Minted
FAQ
What Are Some Good Photo Ideas for Graduation?
The most reliable combination is a classic cap-and-gown portrait, a prop-based shot tied to your major or hobby, and a movement shot like a cap toss or a jump. Round those out with detail shots of the tassel and cords, plus a fast family group setup.
How Do You Take a Good Graduation Photo?
Give the person a task instead of a pose, like walking toward the camera or adjusting their cap, since task-based direction produces more natural expressions than “just smile.” Shoot during golden hour when possible, and always take the safe classic shots before anything experimental.
What Should You Wear for Graduation Photos?
Wear a fitted, simple outfit in neutral or complementary colors under the gown, and skip busy patterns or large logos that distract from your face. Steam the gown ahead of time and get a clean shot of your shoes if you’re carrying a bouquet.
What Are Good Themes for Graduation Pictures?
Popular themes include nature-driven shoots using golden hour light and floral frames, editorial looks built around cinematic lighting and color grading, and storytelling concepts using props tied to your major or hobbies. Confetti and balloon shots work too, though many venues restrict confetti, so bubbles or petals are common substitutes.
How Much Does a Graduation Photo Session Cost in Copenhagen?
Shutter Optique’s graduation photography session is priced at 1,000 DKK and includes guided posing, location selection, and professional editing with fast preview delivery.